
Move from your old Mac to your new one with help from Migration Assistant
Thanks to Migration Assistant, moving your old Mac’s data to your new Mac is as simple as can be.
Migration Assistant makes it super easy to move data from your old Mac to your new one, either directly or from a Time Machine backup. You can also connect two Macs with Wi-Fi, Thunderbolt, FireWire, or Ethernet. Migrating your old data to your new computer will make it possible for you to start working on your brand new Mac without missing a beat.
Before you start
If you are new to Mac, you can also migrate your old PC data, which requires following completely different steps.
But for current Mac owners, here’s how to transfer data to a new Mac from your old one.
- Update your software – You will need to update your software first.
- Name your old Mac – If you haven’t done so already, make sure your old Mac has a name. Open System Preferences > Sharing > and enter a name in the Computer Name field.
- Connect your old and new computers to a power source – Both devices need to be plugged into a power source to ensure that you don’t run out of juice in the middle of the migration process.
- If you installed antivirus or firewall software on either Mac, turn that software off until after the migration is complete.
How to transfer data to new Mac using Migration Assistant
Step 1: On your new Mac:
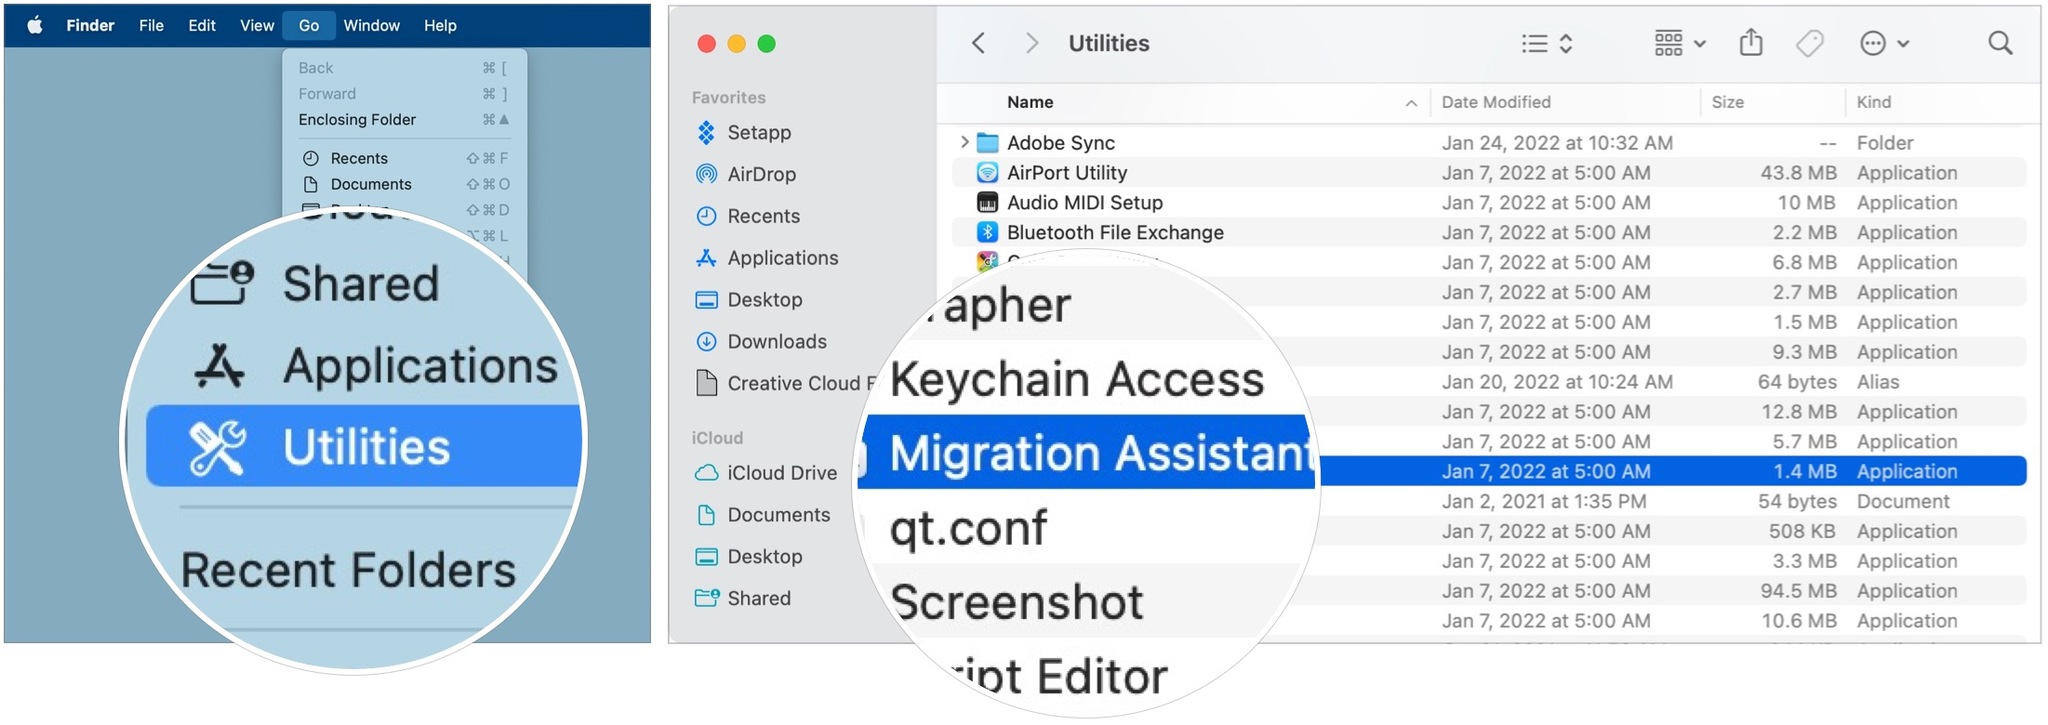
- Click Go on your Mac’s menu bar.
- Choose the Utilities folder.
-
Open Migration Assistant

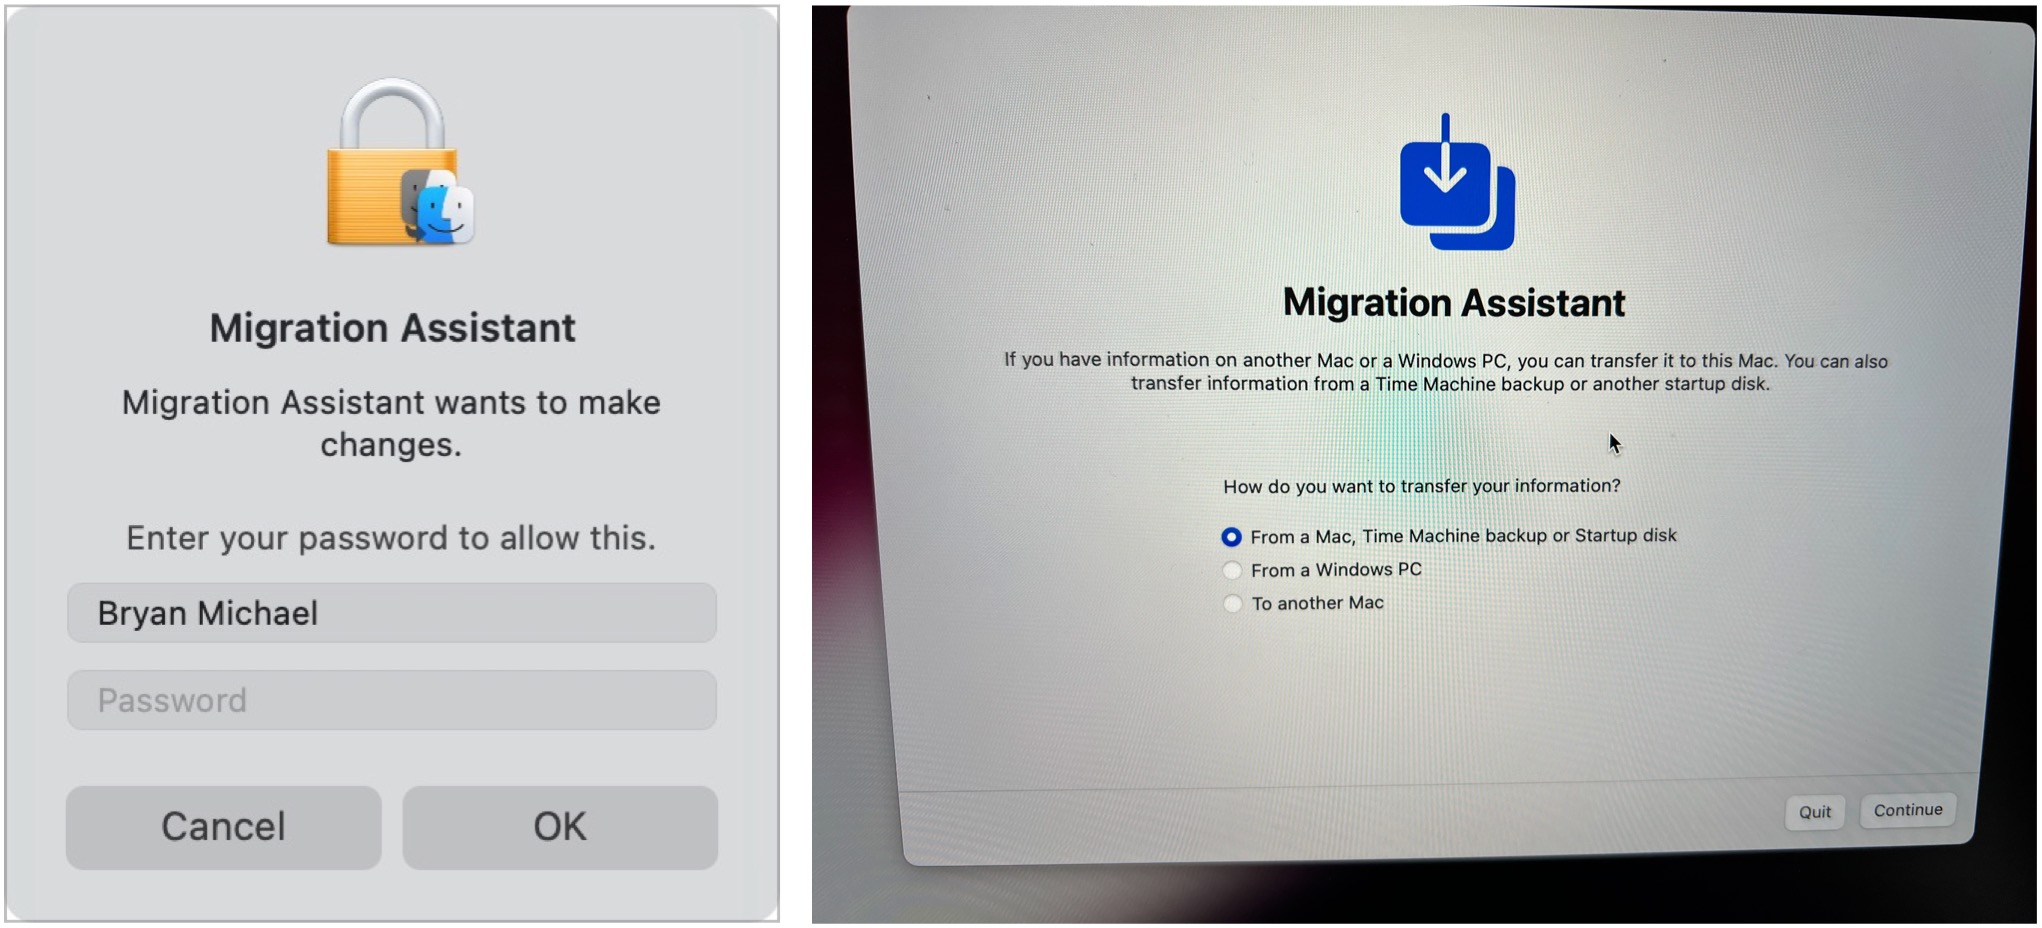
- Click Continue.
- Log into your Mac account, if applicable. This will shut down every open app on your Mac.
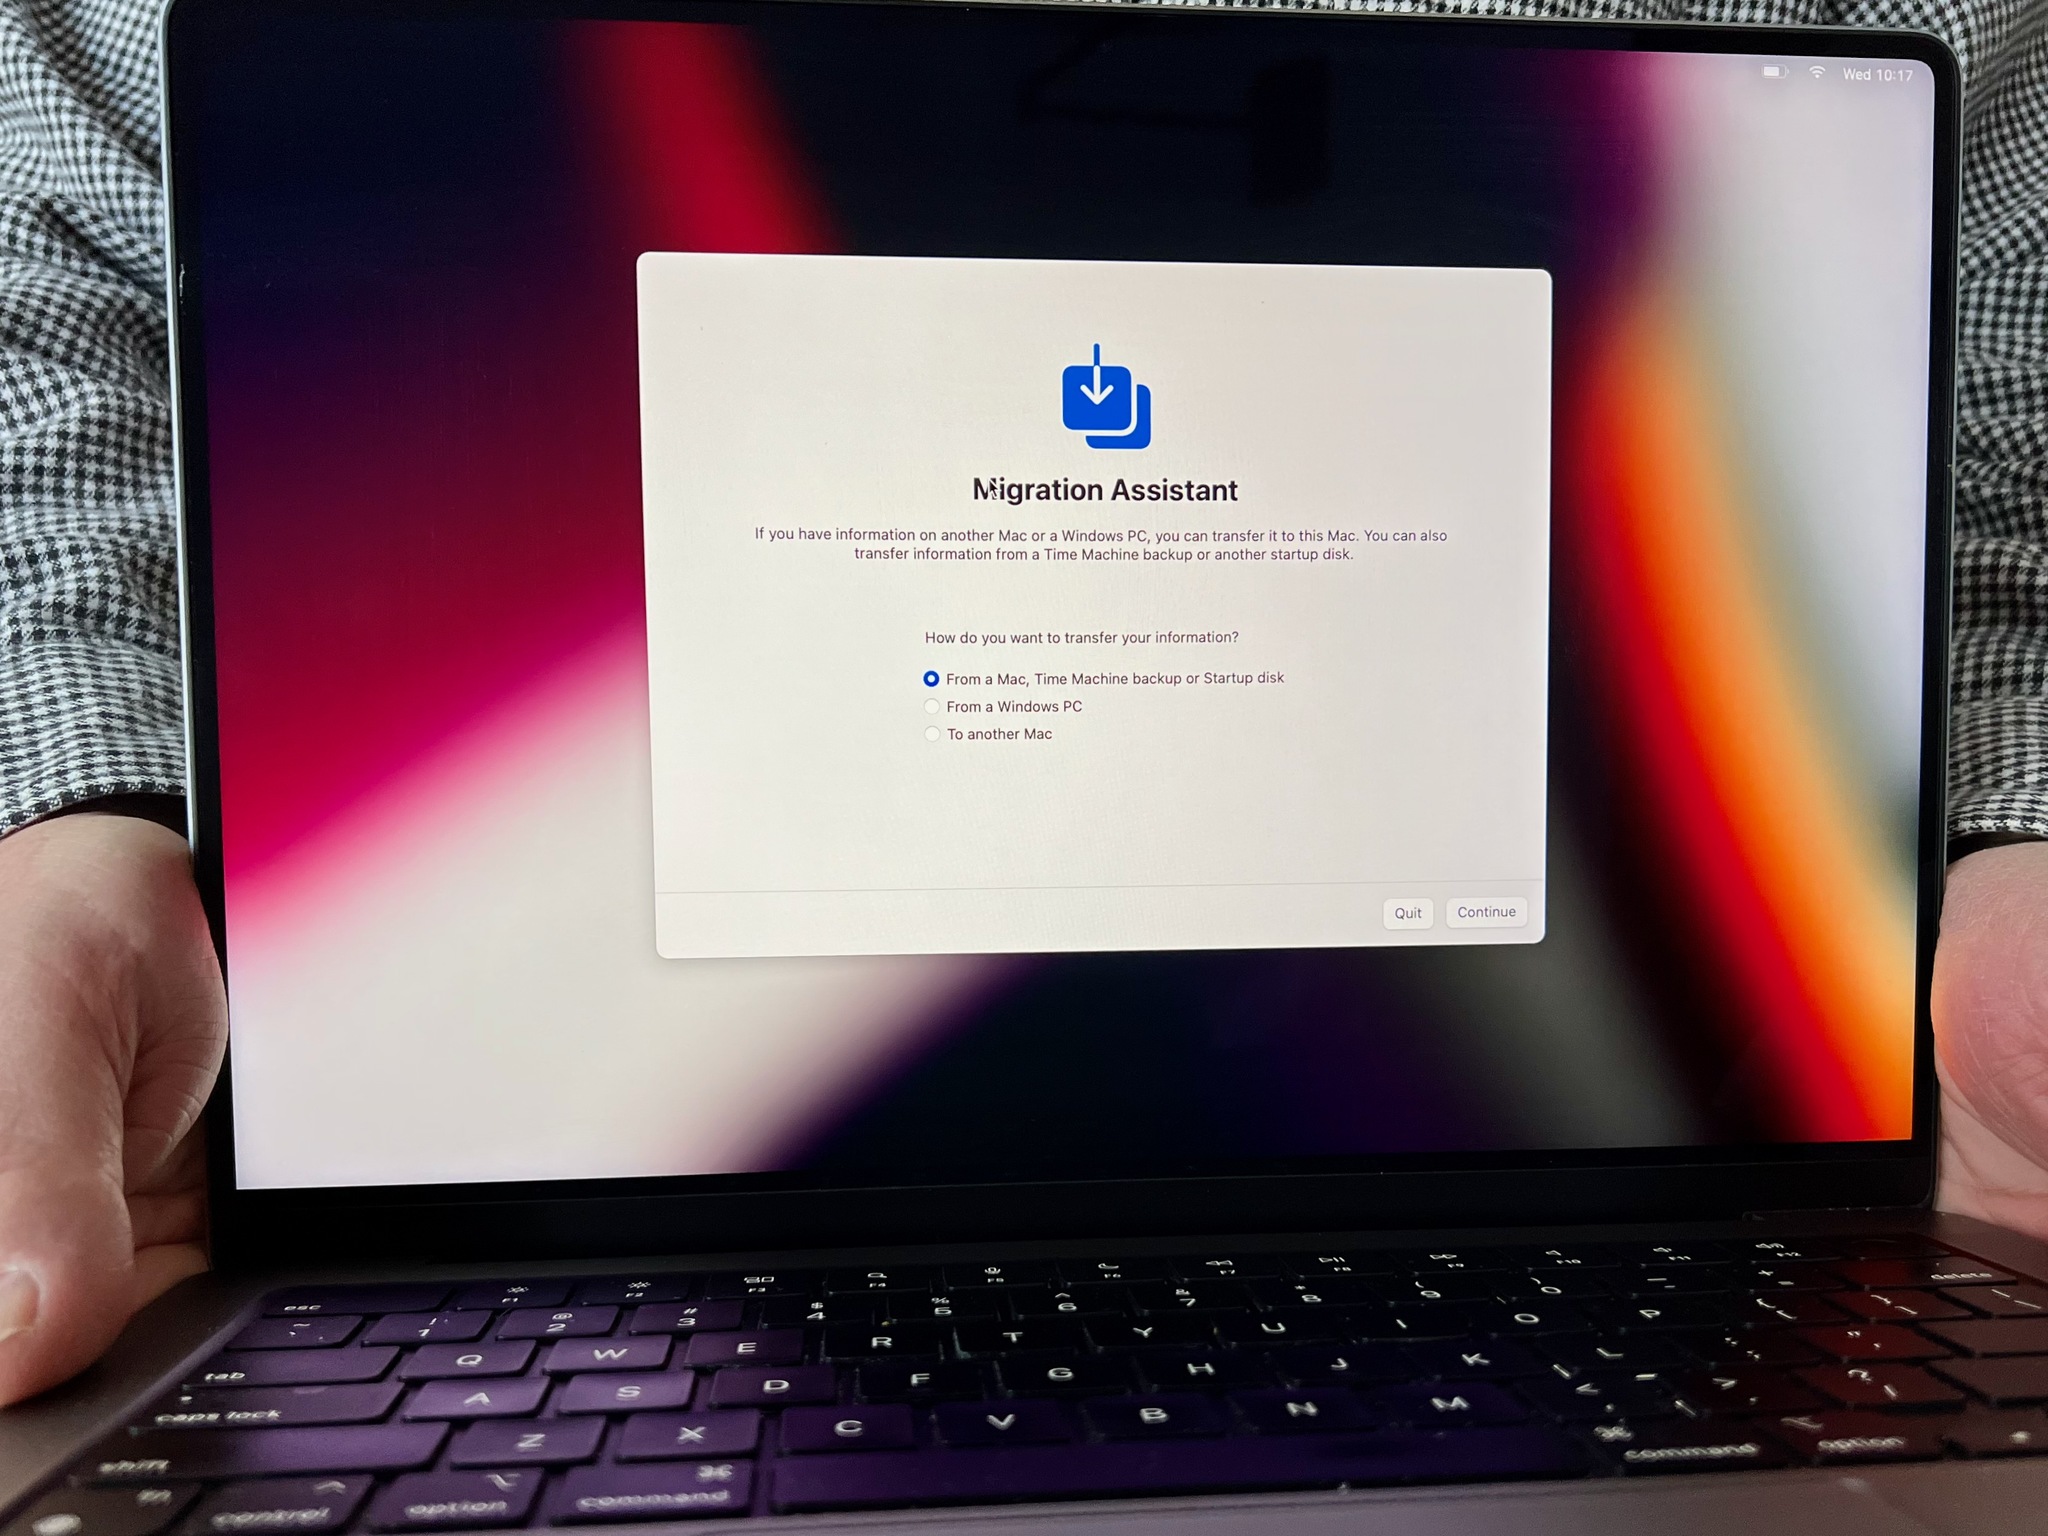
- Select how you want to transfer your information: from a Mac, Time Machine backup, or startup disk.
-
Click Continue.
Step 2: On your old Mac:
- Click Go on your Mac’s toolbar.
- Choose the Utilities folder.
-
Open Migration Assistant
- Click Continue.
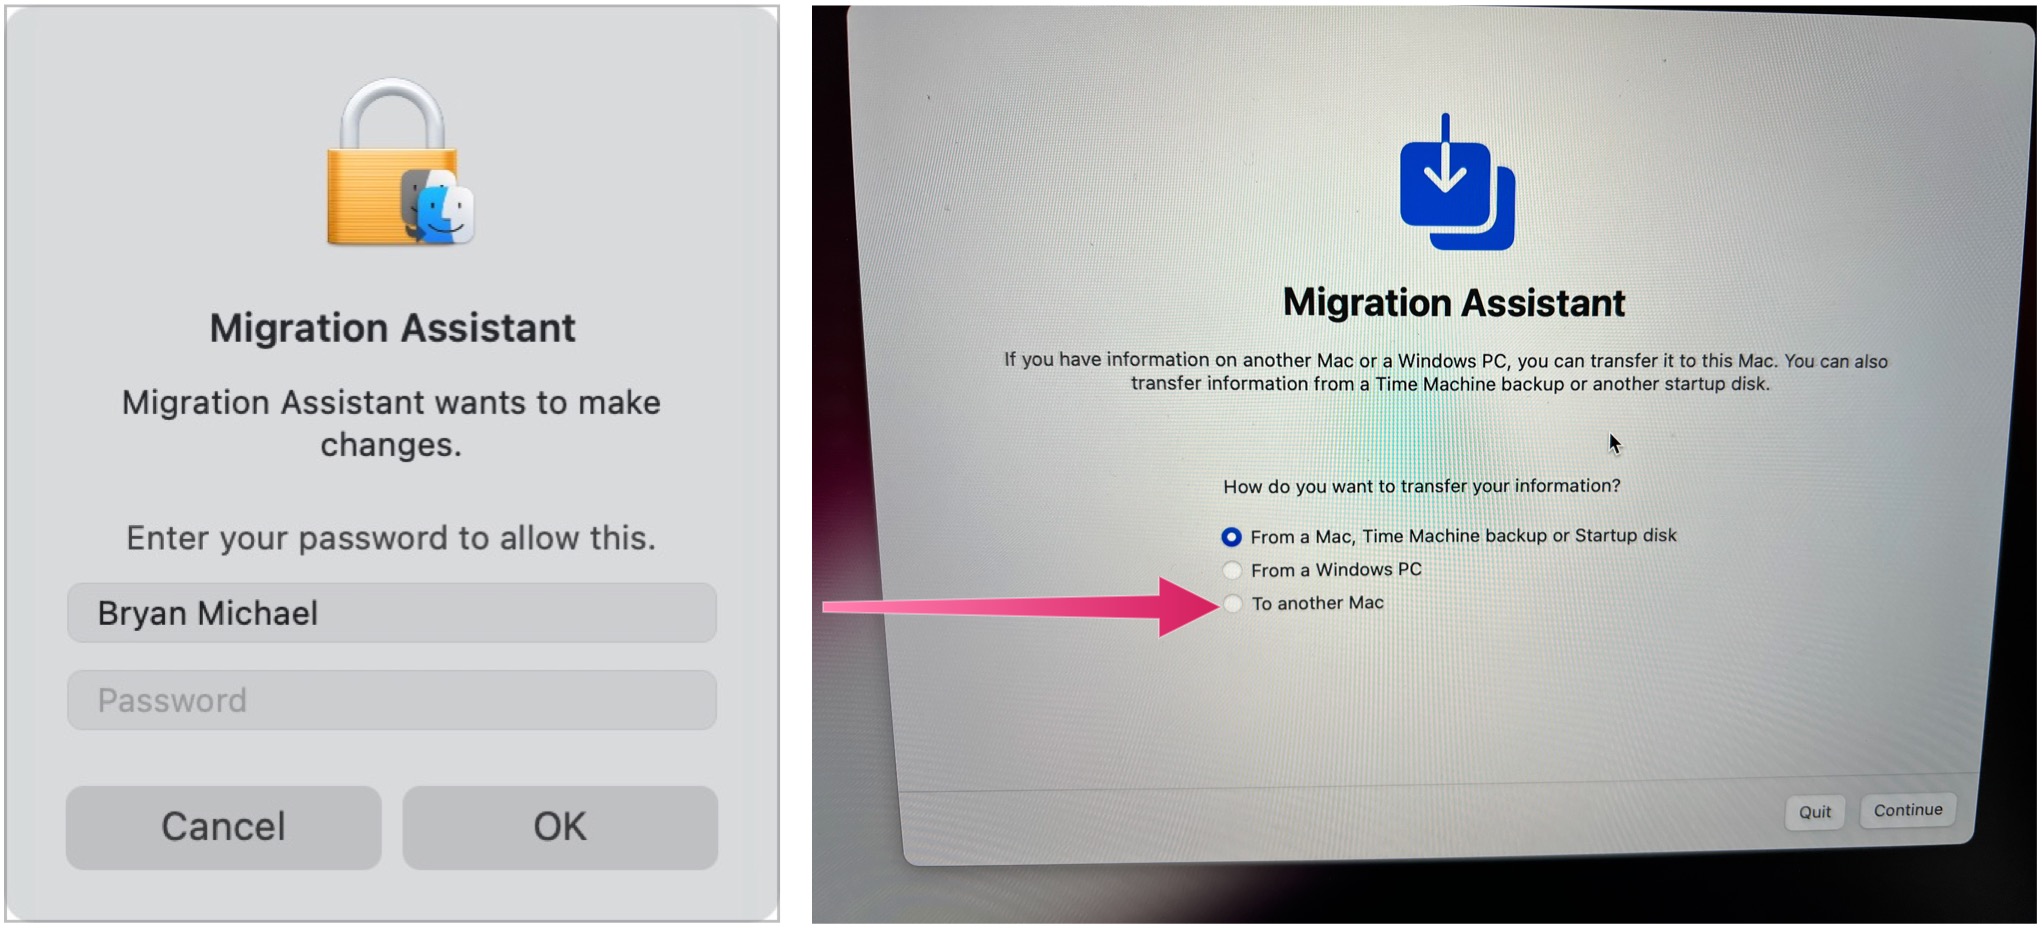
- Log into your Mac account, if applicable. This will shut down every open app on your Mac.
- Select the option to transfer to another Mac.
-
Click Continue.
Step 3: On your new Mac:
- Select the other Mac option when asked to select a Mac, Time Machine backup, or another startup disk.
-
Click Continue.
Step 4: On your old Mac:
- Confirm the security code shown on your old Mac is the same as the code now on your new Mac.
- Click Continue.
Step 5: On your new Mac:
- Select the information to transfer.
-
Click Continue.
After Migration Assistant is done, log in to the migrated account on your new Mac to see its files.
When you’re done
Your new Mac should have all of the data you selected to transfer. It should look almost exactly like your old one if you migrated everything.
If you plan on selling your old Mac , don’t forget to reset it before transferring it to its new owner.
If you haven’t yet purchased a new Mac, you’ve come to the right place. Check out our best MacBooks and best Mac desktops of the year.
Updated January 2022: Removed older details, updated for macOS Monterey.


